Posts Tagged: Craft
5 Easy Photosession Ideas for Easter (part two)
This is part two of 5 easy photosession ideas for Easter. Part one is here. Park one also explains a bit why I’m taking so many different photos of a little guy. I normally just do one set up per holiday and call it good.
The first two ideas were 1) Barnes and Noble and 2) Cotton Candy.
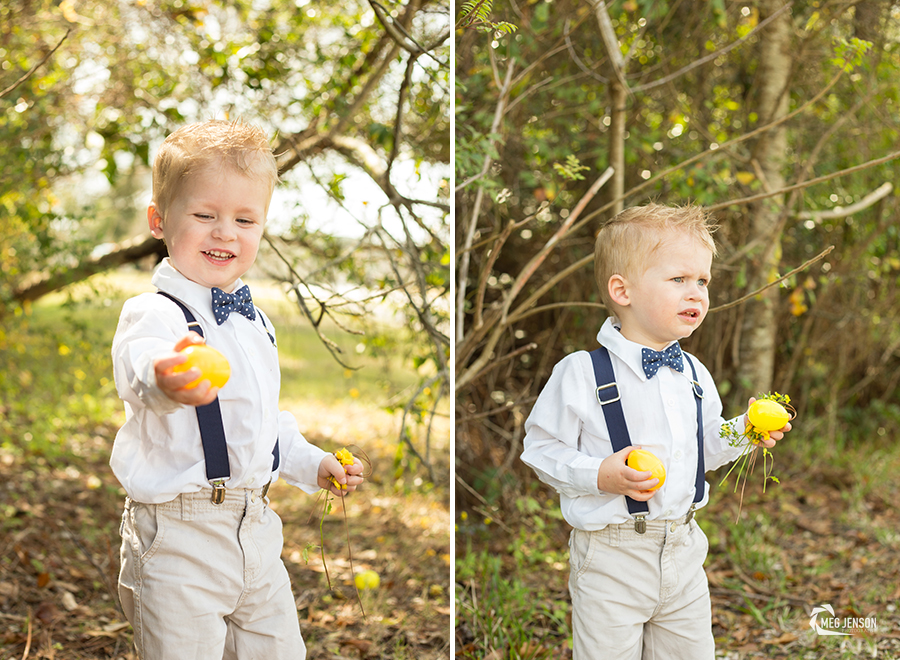
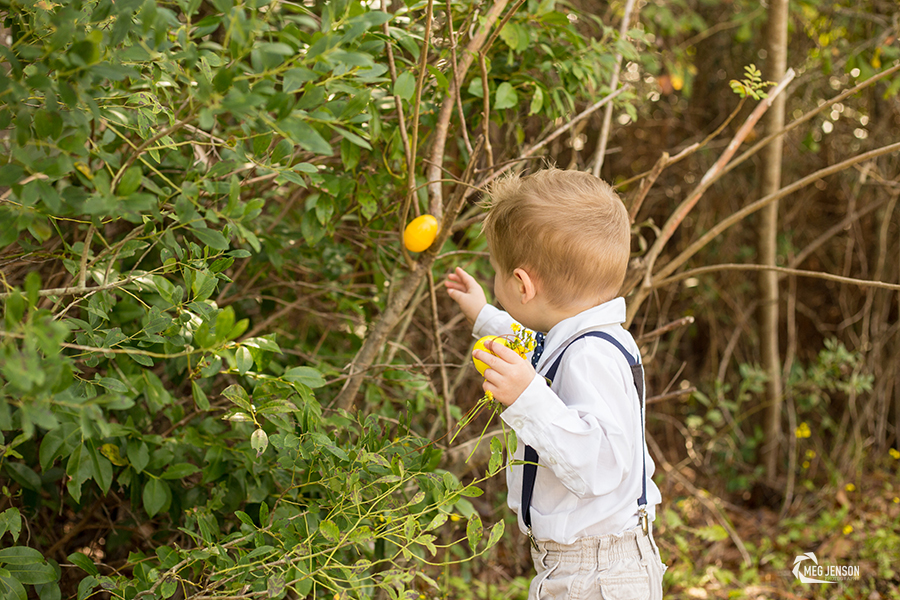
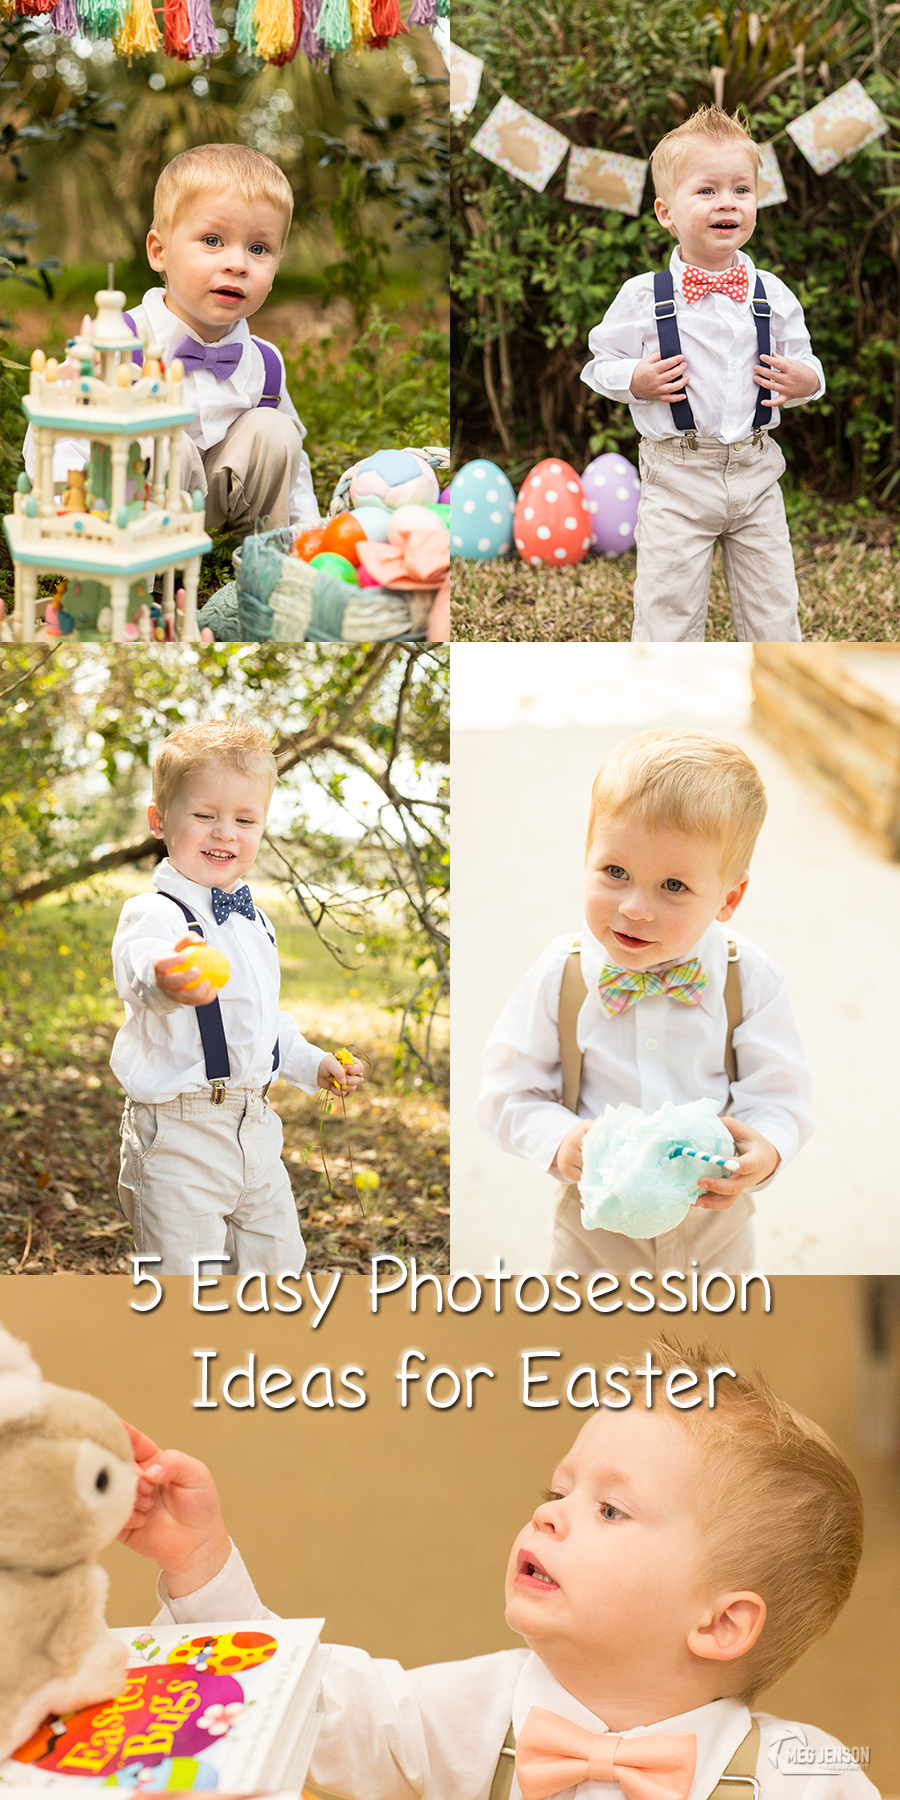
3) Easter Egg Hunt: I knew keeping a toddler in one place was not really an option for all of the photos. I chose a little green area that had nice light and placed some Easter eggs around. I noticed my little man was wearing navy suspenders and a bow tie so I deliberately chose to lay out some of the yellow Easter eggs. I loved the contrast between the yellow and navy in the photographs. After I laid out some of the eggs, I let him go around and pick them up. I liked the lifestyle feel to these photos. Hunting for eggs is definitely something I remember about Easter growing up. These photos did not require him to look at the camera.
Continue after the jump to see the last two ideas.
Jumbo Painted Easter Eggs
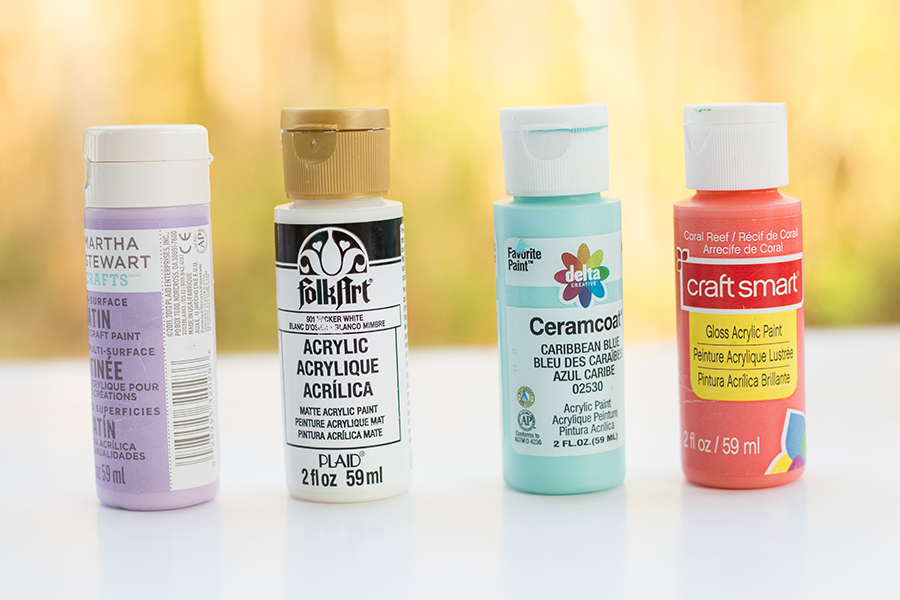
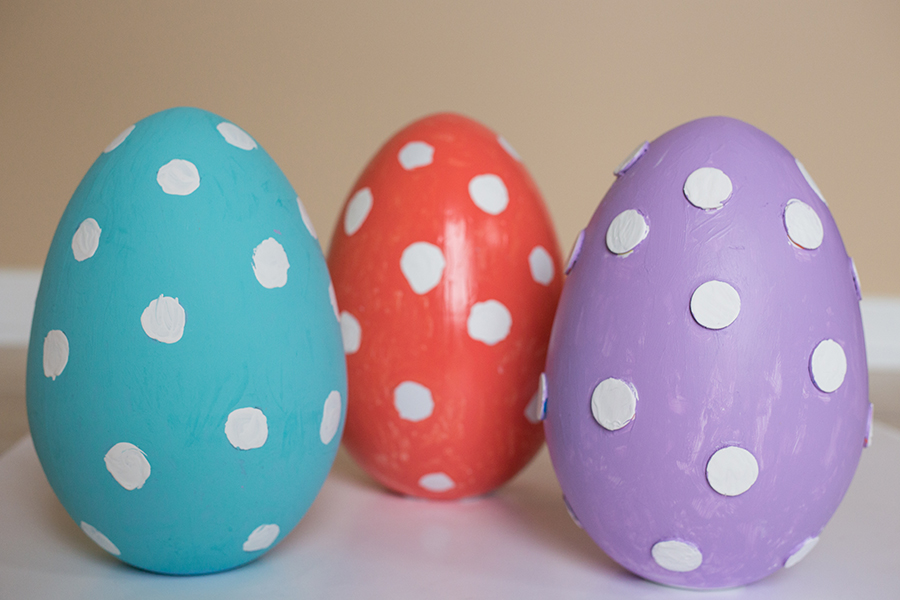
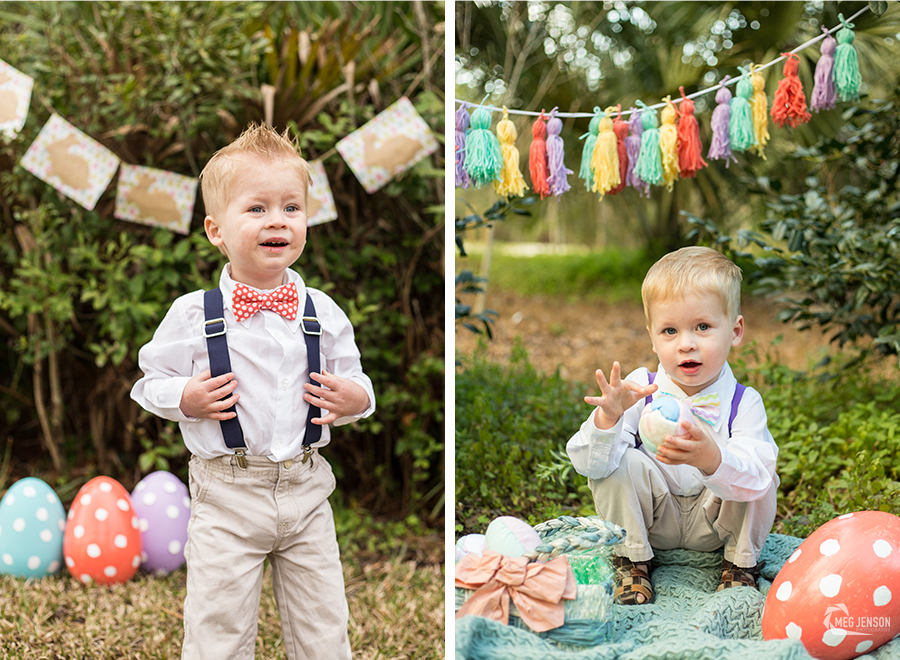
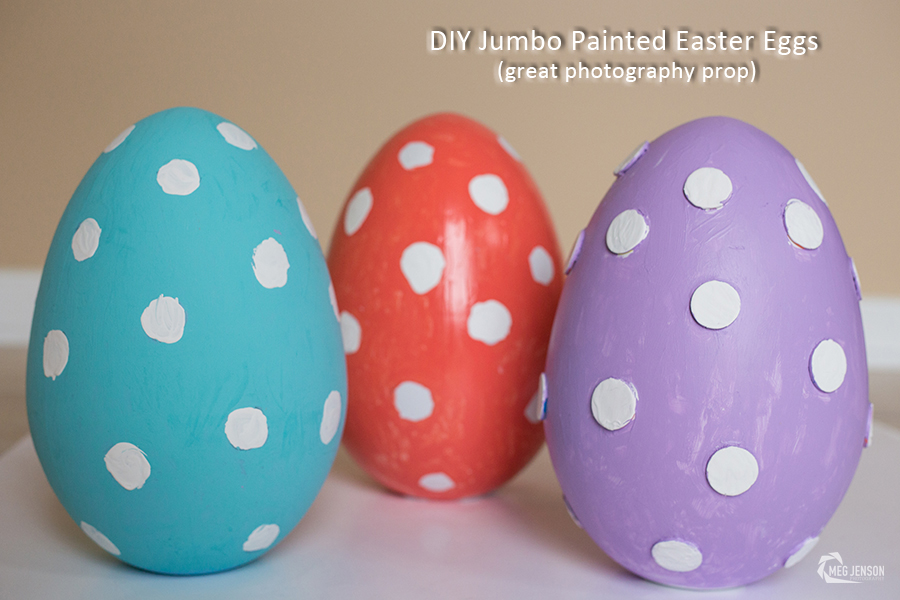 A prop I was really excited to have were these jumbo painted Easter Eggs. This is a little DIY as part of five easy photo-session ideas for Easter. I liked them because they stand out in the picture. I looked at several craft stores and couldn’t find giant eggs for a good price and with colors I wanted. While browsing through Target, I saw giant Easter Eggs. They were perfect and only $3 per egg. They were right next to a sticker decorating kit but I chose to paint them. The colors I picked were coral, robin egg blue and lavender all with white polka dots. Some of the paints I already had and some I bought at Jo-Ann Fabrics.
I fished around my house for a small circular object to trace and found small circle stickers. For two of the eggs, I traced them with pencil and painted around the circles. This worked pretty well. Since, these were accessories for my photos I wasn’t too worried about the shape of the circles. The last egg I put a bunch of stickers on the egg. I painted around the stickers first then after the paint was mostly dry I painted the stickers white. These circles were perfectly round and gave the egg some texture and definition. I actually painted these with my daughter one afternoon. It was a fun craft to do together.
These jumbo painted Easter Eggs are very light weight which made it easy for me to carry. The downside to being light weight is they are easier to tip over. So, I had to set them up and reset them up a lot. Overall I am quite pleased with how they turn out and plan to use them again.
Bowties/Suspenders c/o: Mae & Jane; Tutorial for the Yarn Tassel Garland.
Yarn Tassel Garland
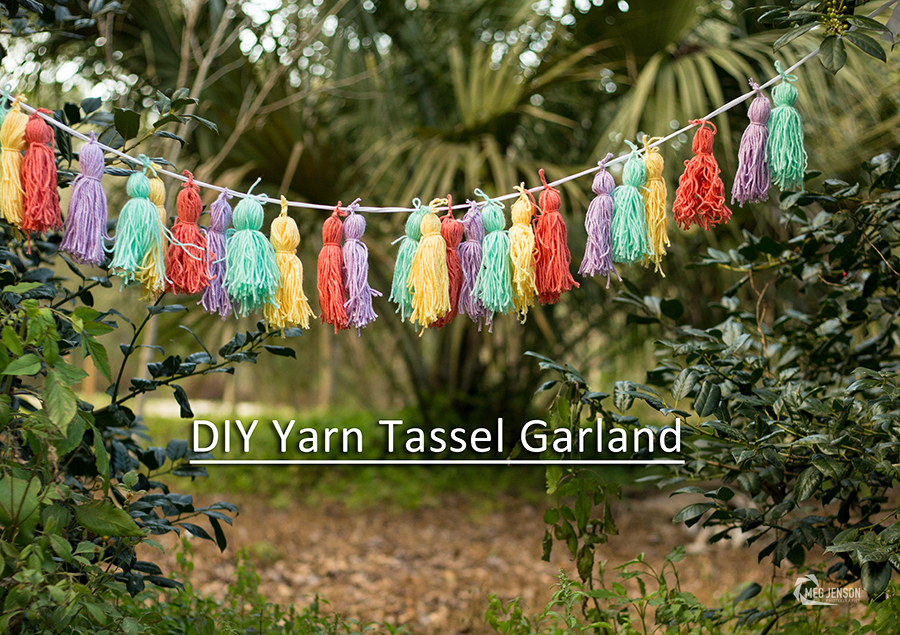 This yarn tassel garland was an easy way to add color and texture to my Easter bowtie photo session. This would also make a great party backdrop or addition to a mantel. I’ve made a lot of tissue paper tassels. However, I wanted something that was a bit more sturdy and something I could save year to year. I also thought it was easier to make and to find the colors I wanted in the yarn rather than the tissue paper. I purchased the yarn from Michaels with a coupon. I chose colors that I felt would compliment the bowties and that were Easter colors. I just ripped off a piece of cardboard from the flap of a box from amazon. I had scissors and I had some white ribbon to attach the tassel’s to. I made 32 tassels. It took me about an hour from start to finish. This was also a great craft my four year old was able to help me with.

Recent Comments